
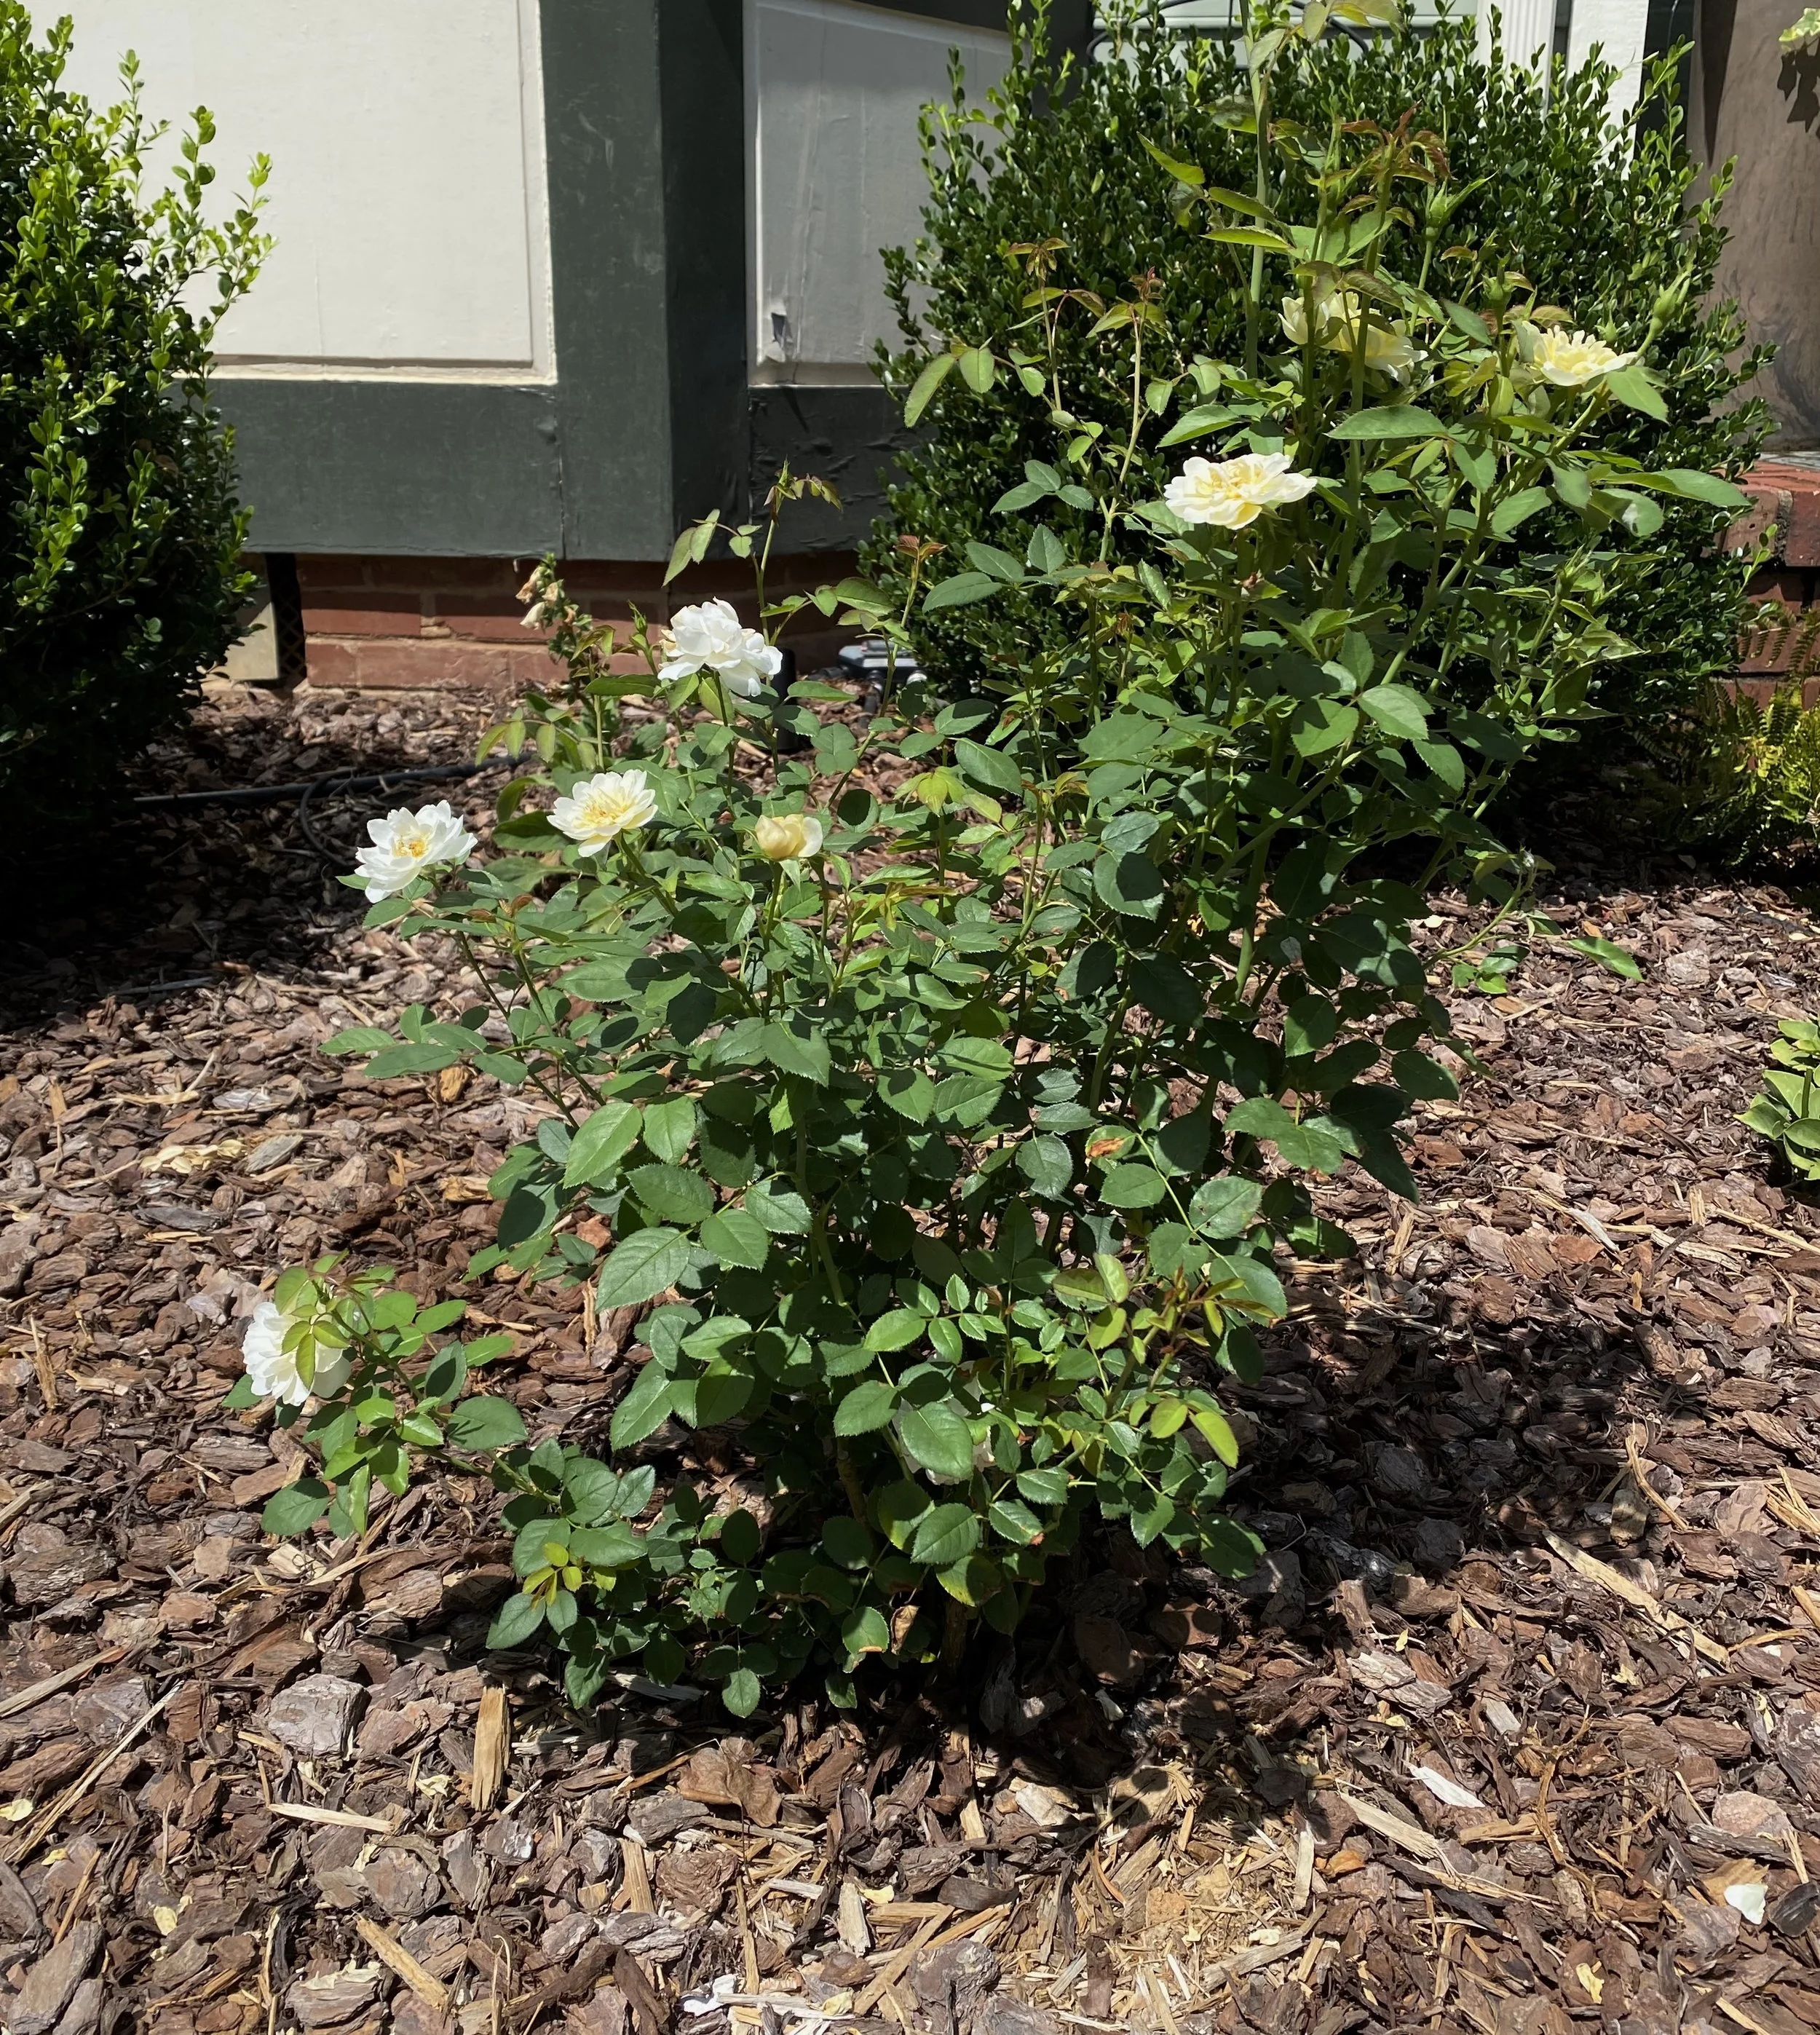
Planting a Rose
In the Piedmont region of North Carolina, we often have heavy red clay soil, which can create drainage problems. For this reason, it is important to amend the soil when planting roses. While clay soil drains slowly, it can also act as a nutrient sponge, holding valuable nutrients that benefit plant growth.
Sunlight, Soil, and Climate
Roses typically need at least six hours of sunlight each day. Avoid planting on the north side of your home or in areas that receive heavy shade.
When planting a rosebush, think of it like building a house—you need to start with a good foundation. Preparing the soil properly will help ensure your rose thrives for years to come.
Best Time to Plant Roses in the Piedmont
In the Piedmont region of North Carolina, roses can be planted successfully in spring or fall, but fall planting is often preferred.
Fall planting (October–November) allows roses to establish their root systems while soil temperatures are still warm. The plants enter spring with a strong root system and often grow more vigorously during the first growing season.
Spring planting (March–April) is also successful, especially for container-grown roses. However, newly planted roses will require more frequent watering as temperatures rise.
Avoid planting during periods of extreme summer heat or when the ground is frozen in winter.

Steps for Planting a Rose
1. Dig the Planting Hole
Dig a hole 15–18 inches wide and 15–18 inches deep.
2. Prepare the Soil Amendments
Amend the soil removed from the hole using the following materials:
Daddy Pete’s Planting Mix
A blend of composted cow manure and aged pine bark fines that adds organic matter and improves soil structure.
Permatill
Permatill is a brand of expanded slate soil amendment. Expanded slate is a lightweight, porous material that improves soil drainage, aeration, and root growth while helping prevent soil compaction.

Worm Castings
Worm castings are a gentle, natural fertilizer that provides essential nutrients to plants. Studies show they can help plants grow stronger, produce more abundant flowers, and improve resilience to pests, drought, heat, and disease.Add a couple of shovelfuls of each amendment to the soil removed from the planting hole.
You can mix the soil and amendments in a wheelbarrow, or pile the soil next to the hole, add the amendments, and mix thoroughly before returning it to the hole.
3. Set the Planting Depth
Add enough amended soil back into the hole so that when the rose bush is placed in position, the crown (the point where the canes emerge from the root system) is level with the soil surface or about 1 inch above ground level.
4. Remove the Rose Bush from the Container
Gently remove the rose bush from its container by slitting the sides of the pot if necessary. Take care not to disturb the root ball.

5. Backfill the Hole
Fill the hole with the remaining amended soil. Do not heavily compact the soil—lightly firm it to remove large air pockets..
6. Water and Create a Watering Basin
Water the plant thoroughly. Then form a 3-inch-deep trench about 8 inches from the crown of the rose to help hold water around the root zone.
7. Mulch
Apply 4–6 inches of mulch around the rosebush to conserve moisture and suppress weeds.
8. Watering After Planting
Newly planted roses should be watered deeply every 1–2 days for the first two weeks, depending on weather and soil moisture. Water at the base of the plant rather than overhead to reduce the risk of disease.
WSRS Tip:
Based on a soil test of your planting site, modifications to this planting method may be necessary.
Rose Planting at a Glance
Choose a location with 6+ hours of sun
Dig a hole 15–18 inches deep and wide
Amend clay soil with organic matter and Permatill
Plant the crown level with the soil
Water thoroughly after planting
Add 4–6 inches of mulch
Water regularly until established